This week we learned how to make some more flowers out of royal icing. (please pardon the pictures – I have no idea why they all turned out so bad!!)
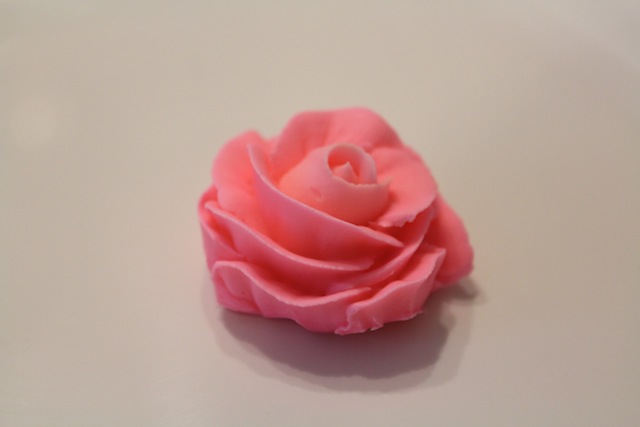 Rose – this is the second rose we learned (you can see the first one here) and I think like this one better. It’s much prettier and more realistic than the first rose we learned! However, I don’t know if it would hold up being made out of buttercream or would only work using royal icing.
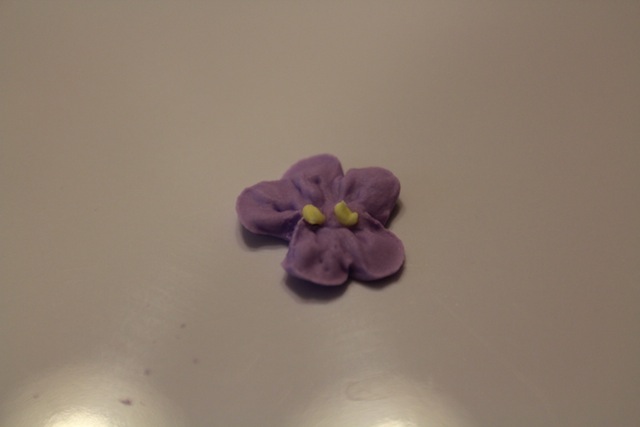 violet – pretty similar to the apple blossom
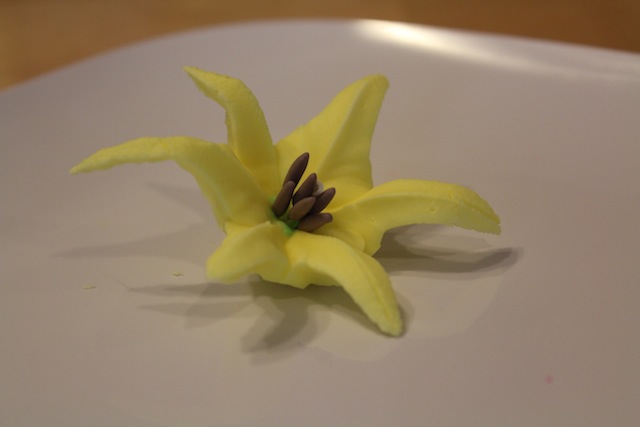
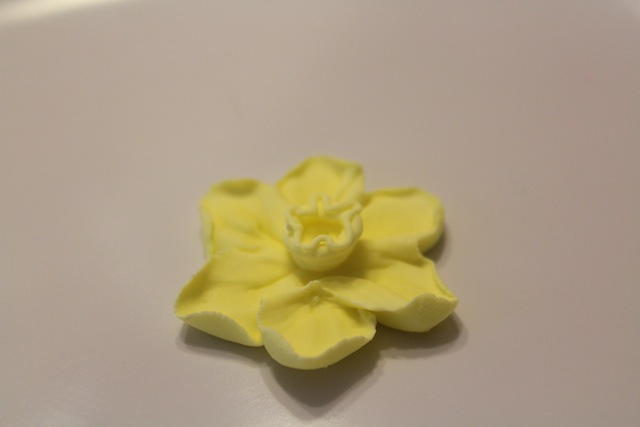
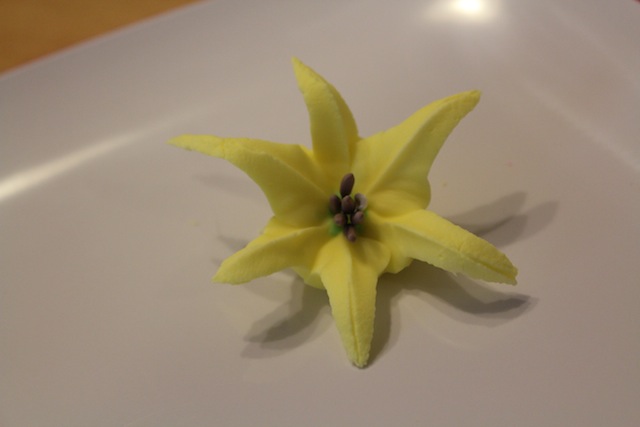 and finally, the lily – this was the hardest flower for me to master, but after several tries I think it turned out pretty good.
 all four flowers from this week’s class
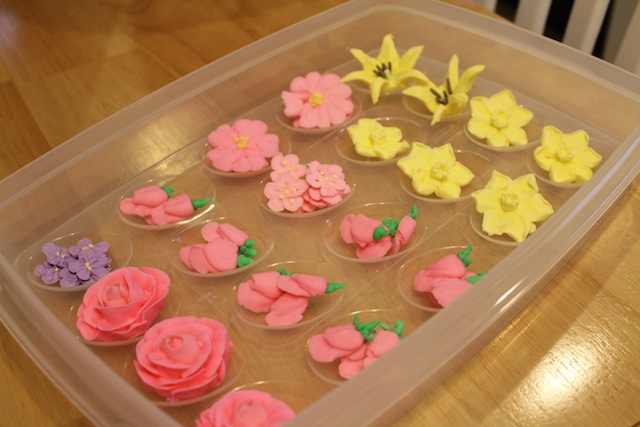 Next week we put it all together by making and icing cake and then using the flowers we’ve made to decorate the cake. So I went ahead and organized all my little flowers (using my deviled egg container) so they’ll be ready for next week.
 I probably won’t use my fondant flowers on my cake next week but I’m hanging on to them just in case.
Something that I learned this week was that even though the royal icing hardens really fast, you need to leave the flowers uncovered in order for them to completely dry. I stored my flowers from last week in a tupperwear container with the lid on and the flowers were somewhat dry/hard but they weren’t completely hardened and kept sticking to each other. My instructor said that you should leave the royal icing flowers completely uncovered so they’ll harden. I did and it worked! Now they are much easier to handle.


Love the lily, beautiful.